

Hello, fellow home improvers! Today, we're going to shed some light (pun intended!) on a task that may seem daunting to many - how to install ceiling light. Though you might initially shy away from the thought of navigating electrical wires, I promise you, it's simpler than you think. By the end of this guide, you'll be able to replace that outdated fixture or install a brand - new light in your favorite room. So, get your toolbelt ready and let's dive into the wonderful world of DIY ceiling light installation.
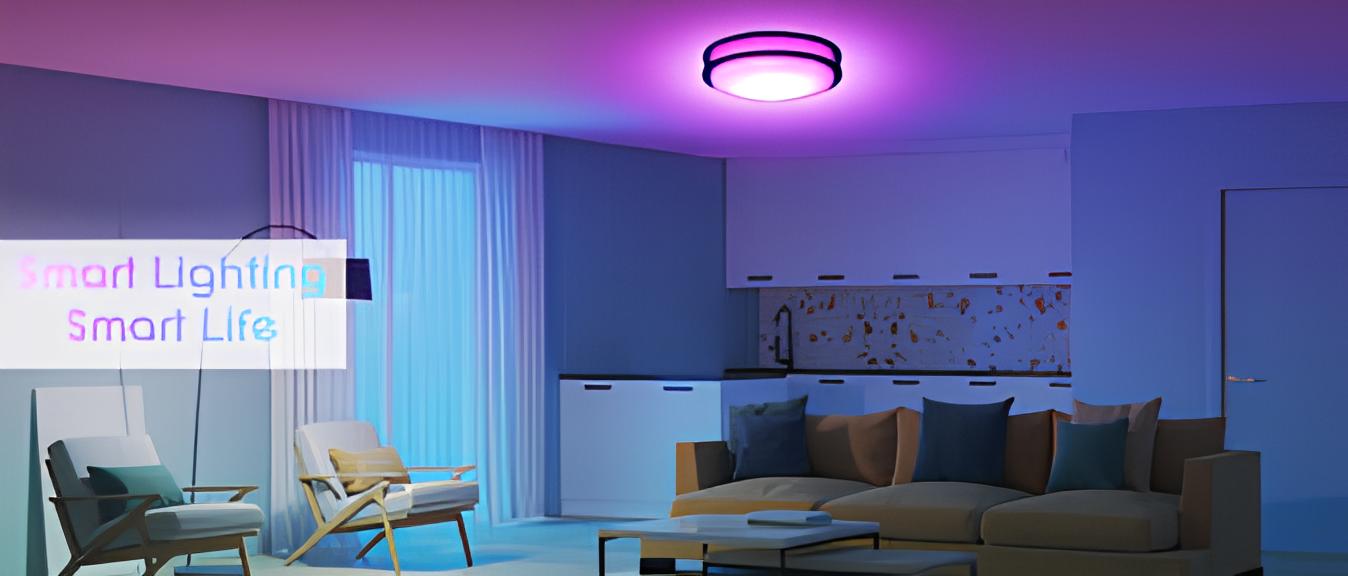
TABLE OF CONTENTS
- What You'll Need
- Step 1: Remove the Old Fixture (if applicable)
- Step 2: Attach the New Mounting Bracket
- Step 3: Connect the Wires
- Step 4: Attach the Fixture Base to the Ceiling
- Step 5: Assemble and Install the Remaining Parts of the Fixture
- Step 6: Switch on the Power and Test Your New Fixture
- Additional Factors to Consider
- Conclusion
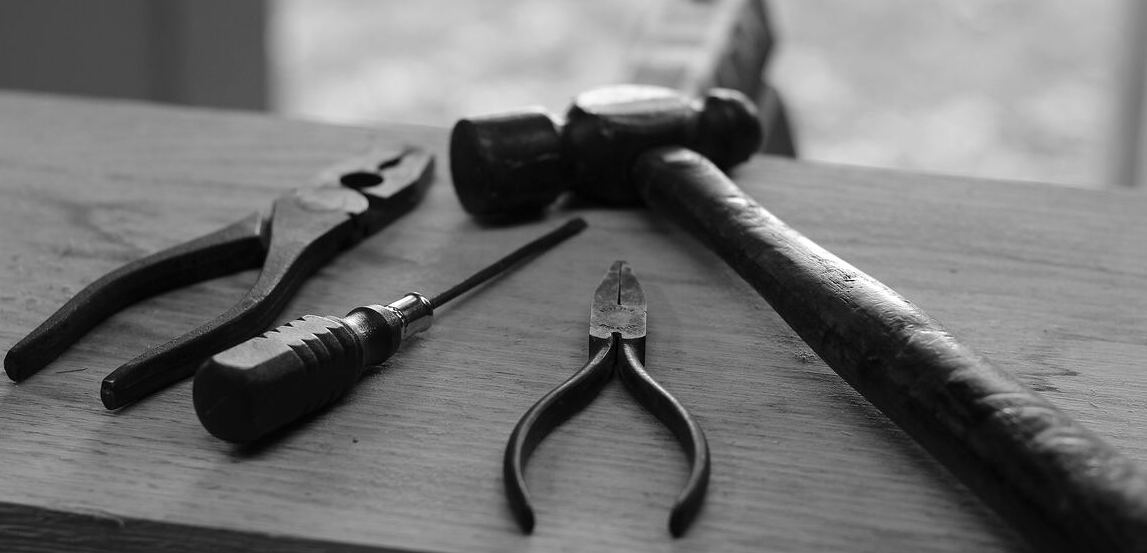
What You'll Need
First things first, let's gather the necessary tools and equipment:
- Ceiling Light Fixture: Choose a fixture that matches your style and the aesthetic of your room.
- Screwdriver Set: A trusty, multipurpose tool.
- Wire Cutters/Strippers: Essential for handling the electrical wires.
- Voltage Tester: Safety first! This device ensures that no electricity is flowing through the wires.
- Ladder: To reach the ceiling comfortably and safely.
- Wire Nuts & Electrical Tape: To safely connect the wires.
- Safety Glasses and Gloves: Again, safety first!
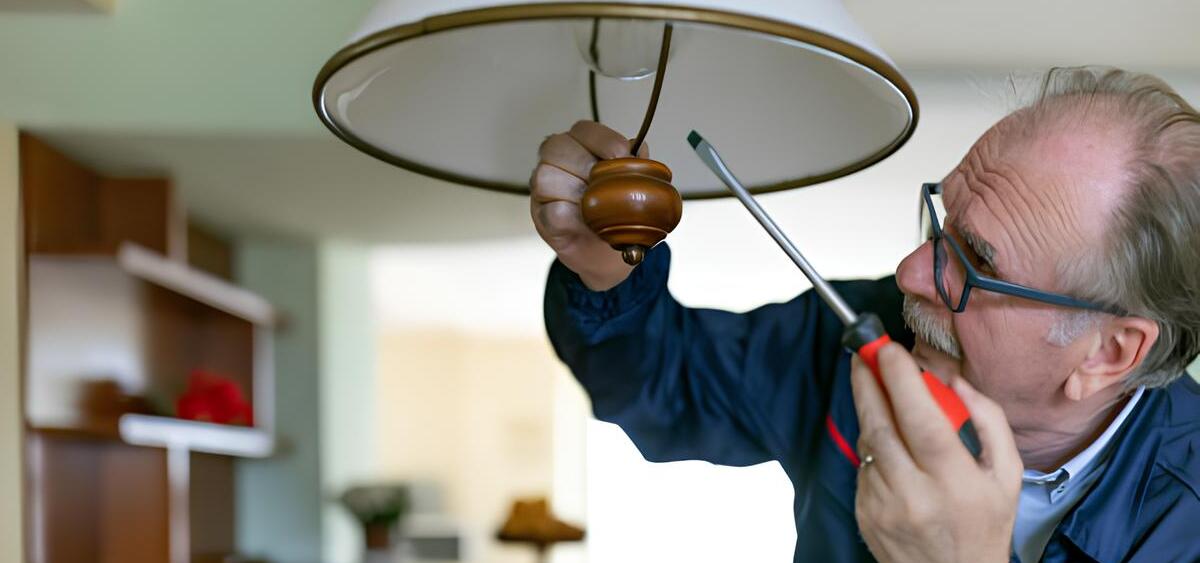
step 1 Remove the Old Fixture (if applicable)
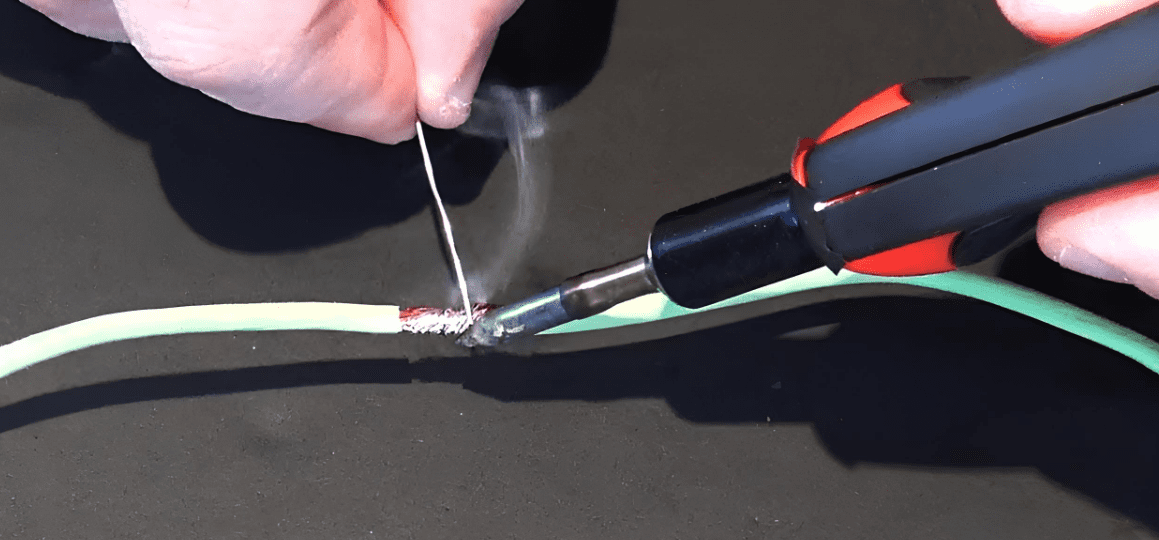
If you're replacing an old light fixture, start by unscrewing the light bulb(s) and removing the old shade or cover. Next, remove the screws or nuts holding the fixture base to the ceiling box. Lower the fixture base and disconnect the wires by unscrewing the wire nuts. Remember to always disconnect the black (hot) wire first, followed by the white (neutral) wire, and finally the green or bare (ground) wire.
- Turn off the Power: Before you start, ensure the power is off at the circuit breaker or fuse box to prevent any electrical accidents.
- Remove the Light Bulb(s): Unscrew the light bulb(s) from the old fixture and set them aside.
- Remove the Shade or Cover: Depending on the design of your old fixture, there may be a shade or cover. If there is, remove it.
- Detach the Fixture Base: Unscrew the nuts or screws holding the fixture base to the ceiling box. Be careful not to drop the fixture as you do this.
- Disconnect the Wires: Lower the fixture base and you'll see the wires connected with wire nuts. Disconnect the black (hot) wire first, followed by the white (neutral) wire, and finally the green or bare (ground) wire.
For video tutorials, please visit: Here
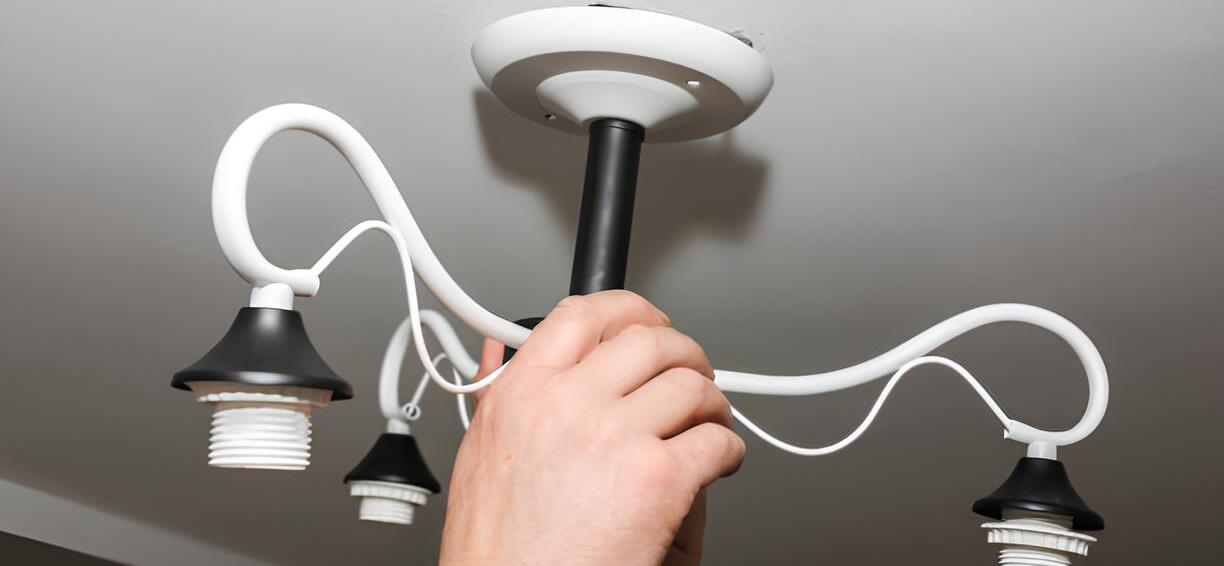
step 2 Attach the New Mounting Bracket
The mounting bracket is what holds your new fixture to the ceiling. This will be screwed into the existing electrical box in the ceiling using the provided screws.
- Identify the Mounting Bracket: The mounting bracket is a piece of metal that comes with your new light fixture. It's designed to hold the fixture to the ceiling.
- Align the Bracket: Hold the mounting bracket up to the electrical box in the ceiling. The screw holes in the bracket should align with the holes in the electrical box.
- Secure the Bracket: Using the screws provided with your new light fixture, secure the mounting bracket to the electrical box. Make sure it's tightly attached and doesn't wobble.
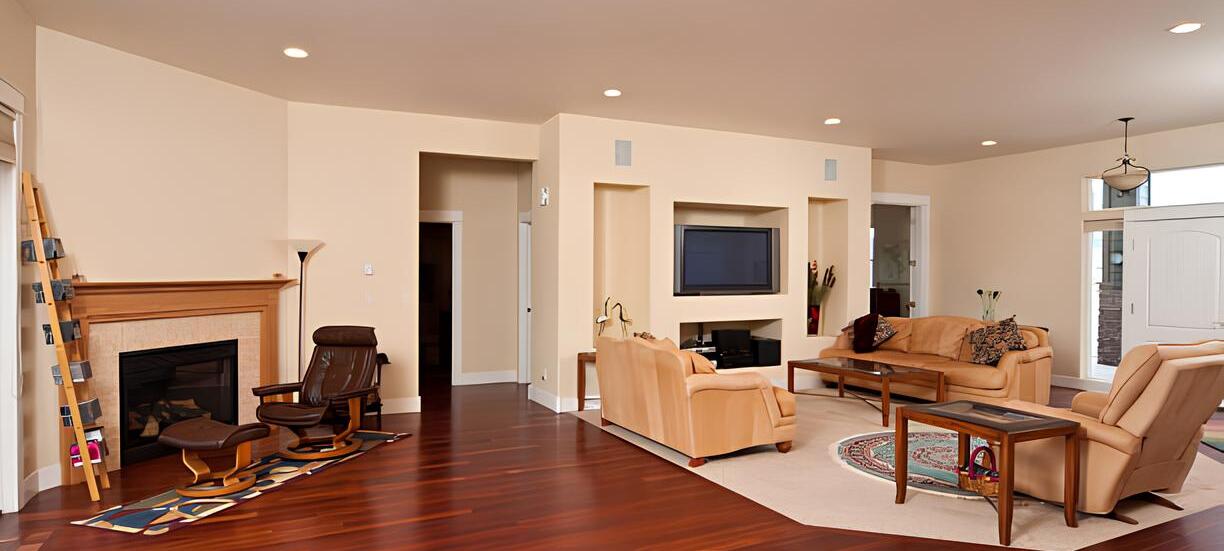
Now that you've attached the new mounting bracket, you might be wondering how many recessed lights you actually need for your room. The number of lights can greatly affect the ambiance and functionality of your space. To help you figure this out, I've written a blog post titled 'How Many Recessed Lights do I Need?'. In that post, I discuss how to determine the number of lights based on various factors such as room size, ceiling height, and the type of light fixture. I highly recommend checking it out before you proceed further with your installation.
step 3 Connect the Wires
Before you start connecting the wires, make sure they're clean and stripped to the right length. Follow this color code:
- Black Wire: This is usually the 'hot' wire that carries power to the fixture.
- White Wire: This is the neutral wire that completes the electrical circuit.
- Green or Bare Copper Wire: This is the ground wire which prevents electrical shocks in case of a short circuit.
Connect the wires from your new fixture to the ones in the ceiling. Match them by color-black to black, white to white. The ground wire (green or bare copper) from your fixture will connect to the ground wire in the ceiling. Use the wire nuts to secure each pair, then wrap each connection with electrical tape for extra safety.
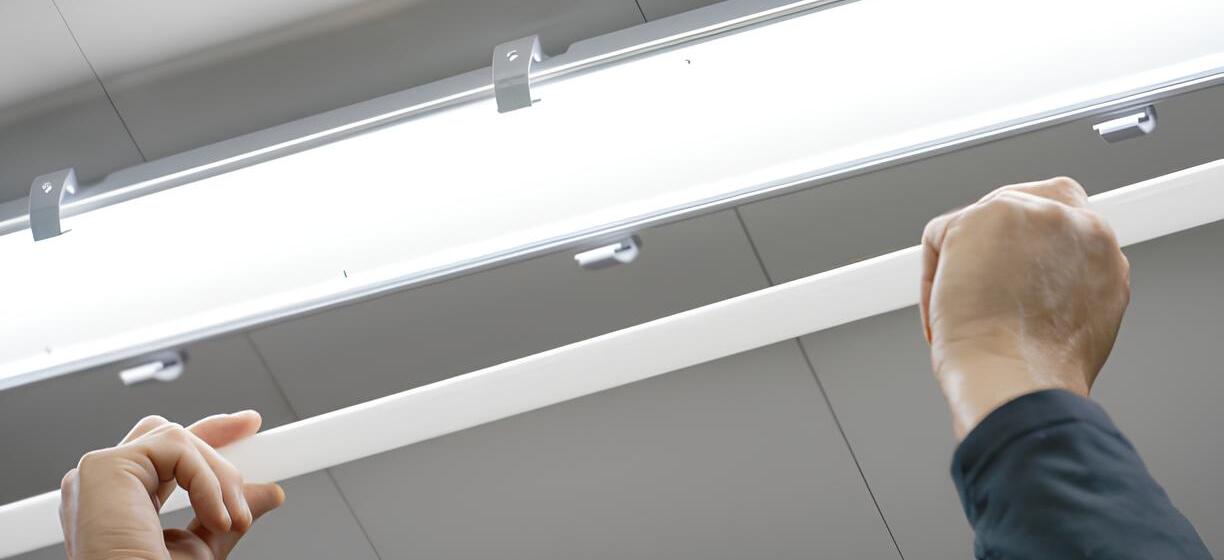
step 4Attach the Fixture Base to the Ceiling
Once the wires are connected, it's time to attach your fixture base to the ceiling. Push the wires into the electrical box and line up the fixture base with the screw holes in the mounting bracket. Insert and tighten the screws to secure your fixture base to the ceiling.
- Prepare the Fixture Base: The fixture base is the part of the light that will be directly attached to the ceiling. Make sure it's ready to be installed.
- Push the Wires into the Box: Carefully push the connected wires into the electrical box in the ceiling. Make sure they're secure and won't interfere with the fixture base.
- Align the Fixture Base: Hold the fixture base up to the ceiling, aligning the screw holes in the base with the ones in the mounting bracket.
- Secure the Fixture Base: Using the screws provided, secure the fixture base to the mounting bracket. Make sure it's tightly attached and doesn't wobble.

step 5Assemble and Install the Remaining Parts of the Fixture
Depending on your light fixture model, the remaining assembly might involve attaching a glass shade, adding bulbs, or connecting a cover. Follow the manufacturer's instructions for these steps.
- Identify Remaining Parts: Look at the remaining parts of your light fixture. These could include a glass shade, bulbs, or a cover.
- Follow Manufacturer's Instructions: The assembly process for these parts can vary greatly depending on the specific model of your light fixture. Follow the instructions provided by the manufacturer.
- Assemble the Parts: Depending on your fixture, this could involve attaching a glass shade, screwing in the light bulb(s), or attaching a cover.
- Install the Parts: Once assembled, install these parts onto the fixture base that's now attached to your ceiling. Make sure everything is secure and correctly installed.
step 6Switch on the Power and Test Your New Fixture
Turn the power back on at the main circuit breaker or fuse box. Flip the switch for your new canless ceiling light. If it lights up-congratulations! You've successfully installed your new canless ceiling light.
- Turn on the Power: Go back to your main circuit breaker or fuse box and turn the power back on for the room where you've installed the new light fixture.
- Test the Light: Flip the switch for your new led recessed ceiling light. If it lights up, then you've successfully installed your new fixture.
- Check for Issues: If the light doesn't turn on, make sure the bulb is correctly installed and working. If it still doesn't work, you may need to check your wiring connections again.
Additional Factors to Consider
- Understand Your Electrical System: Before starting the operation, it's critical to understand your home's electrical system. For instance, knowing whether your house has a grounding system and understanding the color code of the electrical wires in your region can make a big difference.
- Use Appropriate Bulbs: Ensure that the bulbs you choose are suitable for your new light fixture and that they won't exceed the fixture's maximum wattage. Otherwise, you might face risks such as overheating or even a fire hazard.
- Don't Forget to Use the Ground Wire: Some people may overlook the ground wire, but it plays a crucial role in preventing electrical shocks. Ensure that both your new light fixture and the electrical box are correctly grounded.
- Don't Rush to Success: When installing a Wafer ceiling light, be meticulous and follow the steps closely. Don't try to skip any steps. This could not only result in the light fixture being installed incorrectly but might also pose a risk of electrical shock or fire.
- Check All Connections: Before completing the installation, check all the electrical wire connections again to make sure they are firmly connected and there are no loose parts.
- Consider Seeking Help from a Professional: If you feel uncertain about any step or encounter problems during the installation, don't hesitate to find a professional electrician. Electricians can not only help you install the light fixture but also ensure that all electrical work is done in accordance with appropriate safety standards.
Remember, while DIY recessed ceiling light installation can be a fun and rewarding project, safety should always be your top priority.
Conclusion
Whether you're renovating a room or just updating an old fixture, installing a new canless Lights can refresh your space and make a significant difference in your home's ambiance. And now, with this guide at your disposal, you're fully equipped to undertake this project with confidence. Remember, it's all about taking the steps one at a time, being cautious, and enjoying the process. So go ahead, give your space a new glow!
Share:
How Many Recessed Lights do I Need? The Ultimate Guide
Do LED Lights Get Hot? Unraveling Their Operating Mechanism